One of the things I love about blogging is translating the things I create into easy to duplicate projects
for you to try. I used to think that everyone already knew how to do what I do, but based on the questions and feed back I get, I know that's not true. I don't claim to be an expert at anything, I'm just passing along what works for me.
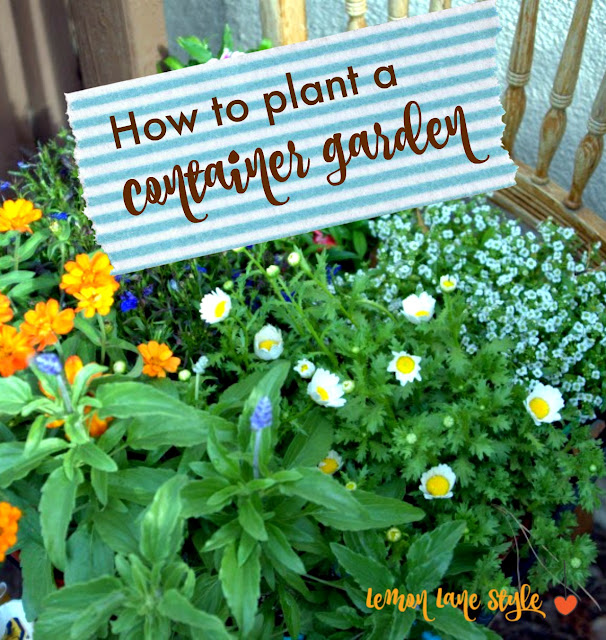
Pretty pots of flowers can brighten up any patio, porch or yard and putting one, two or ten together can easily be done in a couple of hours time.
Today I thought it would be fun to pass on to you how I plant a container garden.
1. The first step is always a trip to the local nursery or garden center to select a few pretty seasonal annuals. I always figure three for a smaller pot and five to seven for a larger pot. but really how full the pot is to start out is up to you and your budget.
2. Next is the soil. Always buy a good quality potting soil with nutrients already added. I also give a shake of a systemic fertilizer (one that will release for a few months as the plant is watered) and mix it into the soil. I like Osmocote but any gradual release fertilizer will do.
3. Next I gather all my empty pots in one place and begin to decide how the plants I managed to fit in the trunk of my car will be used most effectively. Make sure the vessels you choose to plant in have a drainage hole for water before you start filling them up with soil. If a pot doesn't have proper drainage no mater how pretty it is, I find another use for it. I have a couple that are too cute to discard so I keep them stacked on my potting been and I use them as soil scoops or tool holders.
4. If the drainage hole is too large I place a broken pot shard in the bottom so that the soil doesn't escape just be sure you don't block the hole entirely.
5. Fill the pot 3/4 of the way up with potting soil, remembering to sprinkle in your granulated fertilizer.
6. Now I start playing with my plants placing the tallest in the center and the shorter and trailing ones on the outer edge. (If you're not sure how tall a plant will get just check the plants info marker.)
7. Use your fingers to dig a small hole and begin placing the plants in the soil as you have designed them. Once you have all the plants in, fill in the remainder of the pot with additional soil, giving each plant a gentle push down to get rid of any air pockets. Be careful not overfill. I always leave around an inch from the top for overflow when I water.
8. Water them in well and place them in the proper sunlight and enjoy for the season being sure to keep them watered as the temperatures rise.
With all that done I step back and enjoy.
Just a note - how many plants you put in each pot depends not only on your budget but also timing. If I am entertaining the same weekend then I will plant fewer pots but pack in the flowers so they look full right away. If I know I have a couple of weeks before show time, I will plant more pots with less plants since I have more time for them to fill in, which they always do. Does that make sense?
Since buying plants is always on a budget for me I generally plant fewer plants into more pots but everyone once in a while I need the instant gratification and will really pack a pot in.
I hope you feel inspired to head to your local nursery and buy yourself a six pack of flowers or two and create some little pots of beauty of your own.
xo, Patty
If you enjoyed this post you might also like how to plant strawberries in a container as well.


Very pretty, Patty. I love big container gardens.
ReplyDeletePatty, I like all your pretty colors. My pansies are looking rather pale...hope they perk up. :) I am planning on getting some red geraniums. I want them in my big container. Blessings, xoxo, Susie
ReplyDeleteThese were great tips and I love the colors that you combined together. Isn't it wonderful to be gardening again!
ReplyDelete(Also, I am a subscriber to your blog-I had subscribed twice, so unsubscribed to one of them!)
Happy Tuesday,
Jemma
I always question whether I have enough soil in the pot. Maybe you could touch on that in a post :)
ReplyDeleteVery Pretty. I've been working on mine too.
ReplyDeleteI love doing this at the beginning of the season as you know that spring has truly begun.
ReplyDelete